I Made My Own Pokémon Binder for Collect-A-Con
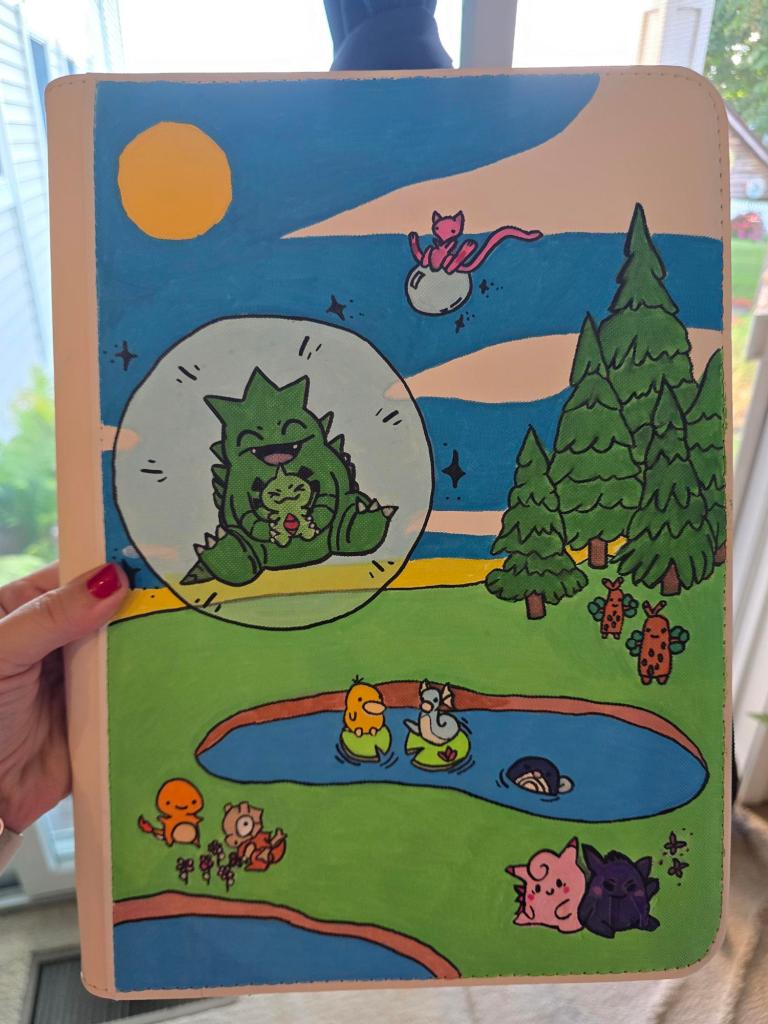
I was getting ready to go to my first card show ever (Collect-A-Con) and decided that obviously my cards needed a cute binder to come with me.
I wanted something that felt completely mine, so I decided to paint my own. I used the Bubble Mew card as inspiration, then played around in Canva, piecing different elements together and changing the design to feature one of my all-time favorite Pokémon: Larvitar.
Every Pokémon I added to the binder is one of my favorites for a different reason, which made the finished design feel even more personal. Instead of recreating one Pokémon card, I basically got to create my own little Pokémon world filled with all of my favorites.
Once I had a design I was happy with, I printed it out on regular paper. Then came the part I was probably most nervous about: actually getting that design onto the binder.
Enter graphite transfer paper.
I had never used graphite paper before, and I was honestly shocked by how well it worked. I placed the graphite paper underneath my printed design, taped everything into place with masking tape, and traced over my design using the tools that came with the transfer paper. When I pulled everything away, there was my design outlined on the binder and ready to paint.
From there, it was basically a giant paint-by-number project…without the numbers.
Painting the Binder
I definitely didn’t paint everything in a perfect order. I jumped around a little depending on what I felt inspired to work on that day, but I also tried to knock out some of the larger areas, like the grass, sky and water, before getting too deep into all of the tiny details.
I used acrylic paint markers for the entire design. Having two different tip sizes was really helpful because I could use the finer tip around the Pokémon and for little details, then switch to the larger tip for areas like the grass and sky.
And you’ll need some patience here. I did multiple coats of paint marker, especially on the larger sections. Some areas got around three coats before I was happy with the coverage.
Once everything was finally finished, I let the binder sit for at least 48 hours to make sure the paint was completely dry. Mine actually sat quite a bit longer because after putting that much time into it, I was absolutely not risking smearing Larvitar at the finish line.
For this binder, I used a paintbrush to apply a matte protective finish. It worked, but this is the one part of the project I would change next time. For my next binder, I will absolutely be using a matte spray sealer instead. I haven’t personally used the spray method on a binder yet, but I’ve heard really good things about it and think it will be much easier than brushing a finish over all of the artwork.
Is it perfect? Absolutely not. Will I now be making one for my husband and probably all of my friends with their favorite Pokémon? Absolutely yes. 😂
I love how it turned out, and I especially love that I made it for my first card show. I now have a card binder that’s completely unique to me, filled with my favorite cards on the inside and my favorite Pokémon on the outside.
And honestly? The whole project was way more doable than I expected it to be. You definitely don’t need to be amazing at freehand drawing to make one.
A quick heads up: Some links on this page are affiliate links, which means I may earn a small commission if you find something you love and make a purchase, at no extra cost to you.
1. A White Binder
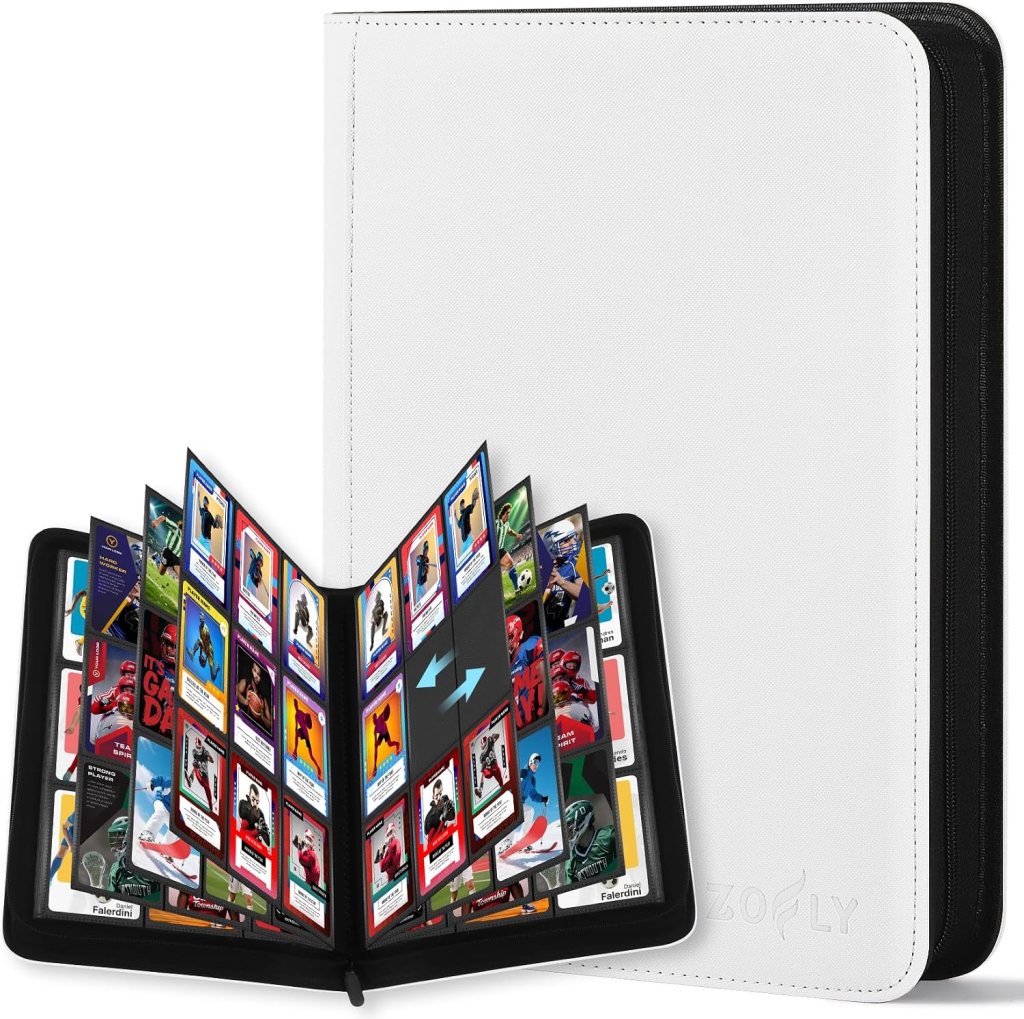
The binder itself was important because I knew I wanted to actually use it for my card collection, not just make something cute. I specifically chose a white binder so I had a blank background for the design and the paint colors would really stand out.
I also wanted one that zipped completely around the sides for extra protection and purposely avoided a traditional three-ring binder because I wanted something better suited for keeping my cards protected long-term. This one has built-in side-loading card pages, which was exactly what I was looking for.
Another bonus: the logo is really small and tucked into the bottom corner. I was worried branding might interfere with the artwork, but you can barely notice it once the whole design is finished.
So I ended up with a basically blank canvas to paint on without sacrificing the features I actually wanted for protecting my cards.
2. Graphite Transfer Tracing Paper
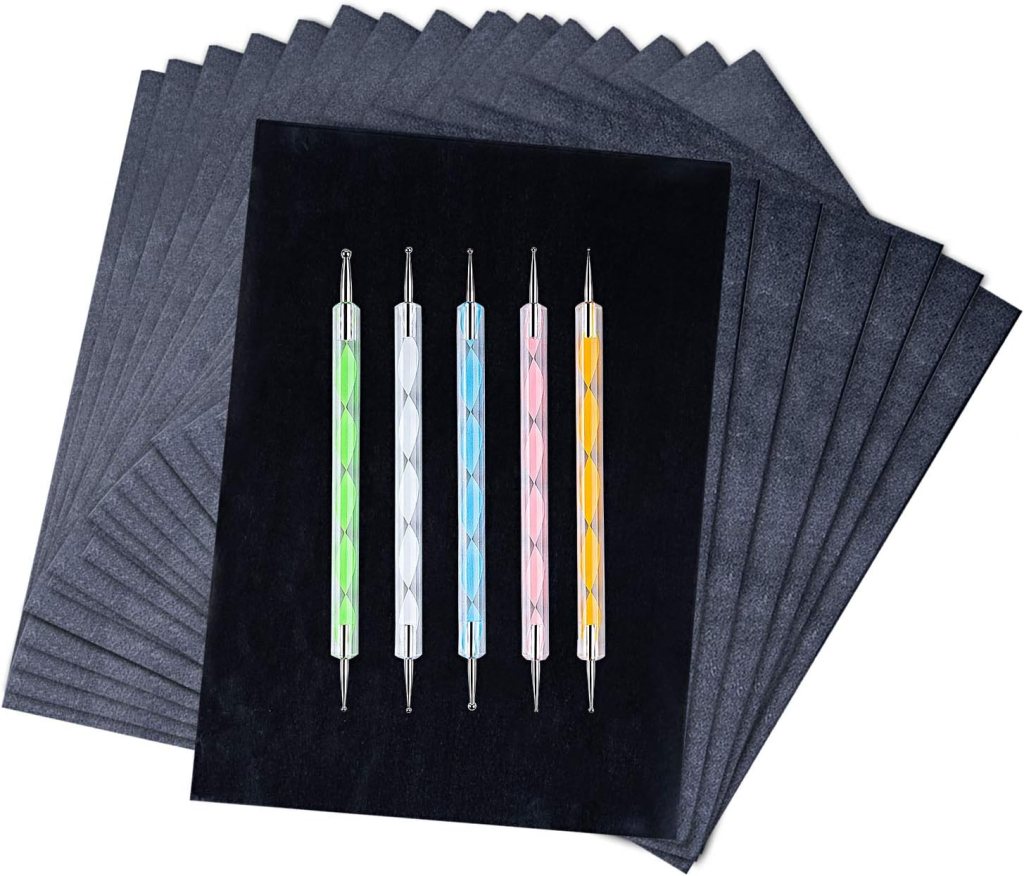
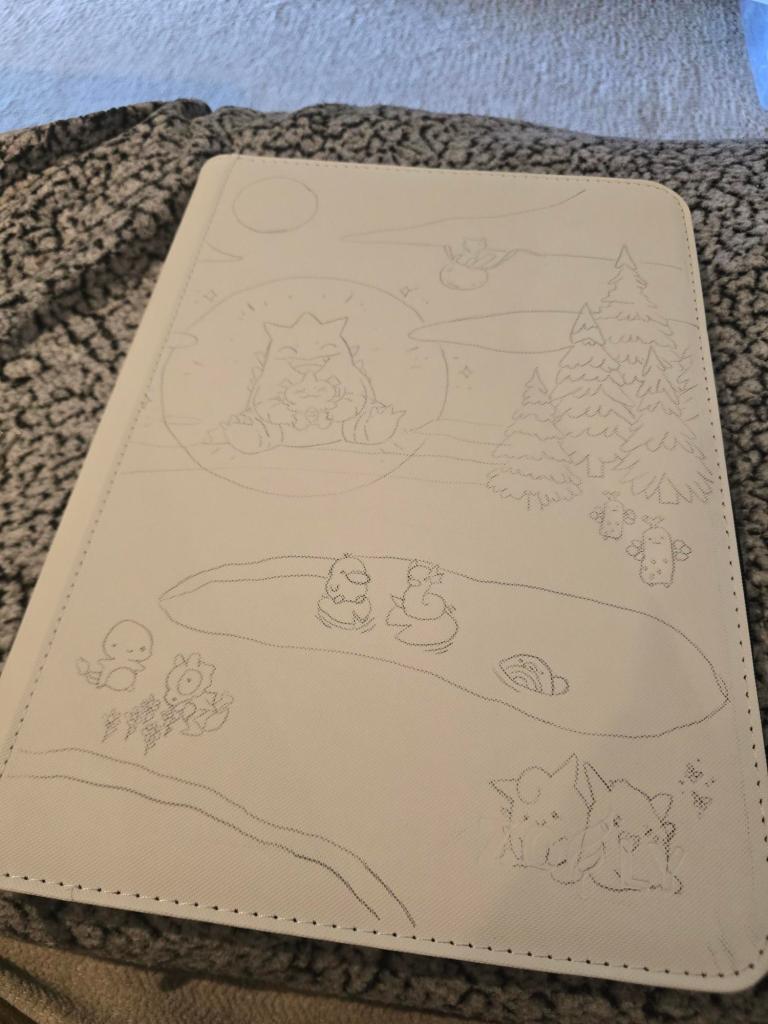
I had never used graphite transfer paper before, and I was honestly shocked by how well it worked. I printed my design, placed the graphite paper underneath, and traced over the lines to transfer the image directly onto the binder. It was so much easier than I expected.
It gave me a clear outline to follow with the paint markers, especially around all of the smaller Pokémon details, and meant I didn’t have to attempt to freehand the entire design. If you’ve never used graphite paper before either, don’t let this step intimidate you…it ended up being one of the easiest parts of the whole project.
3. Acrylic Markers
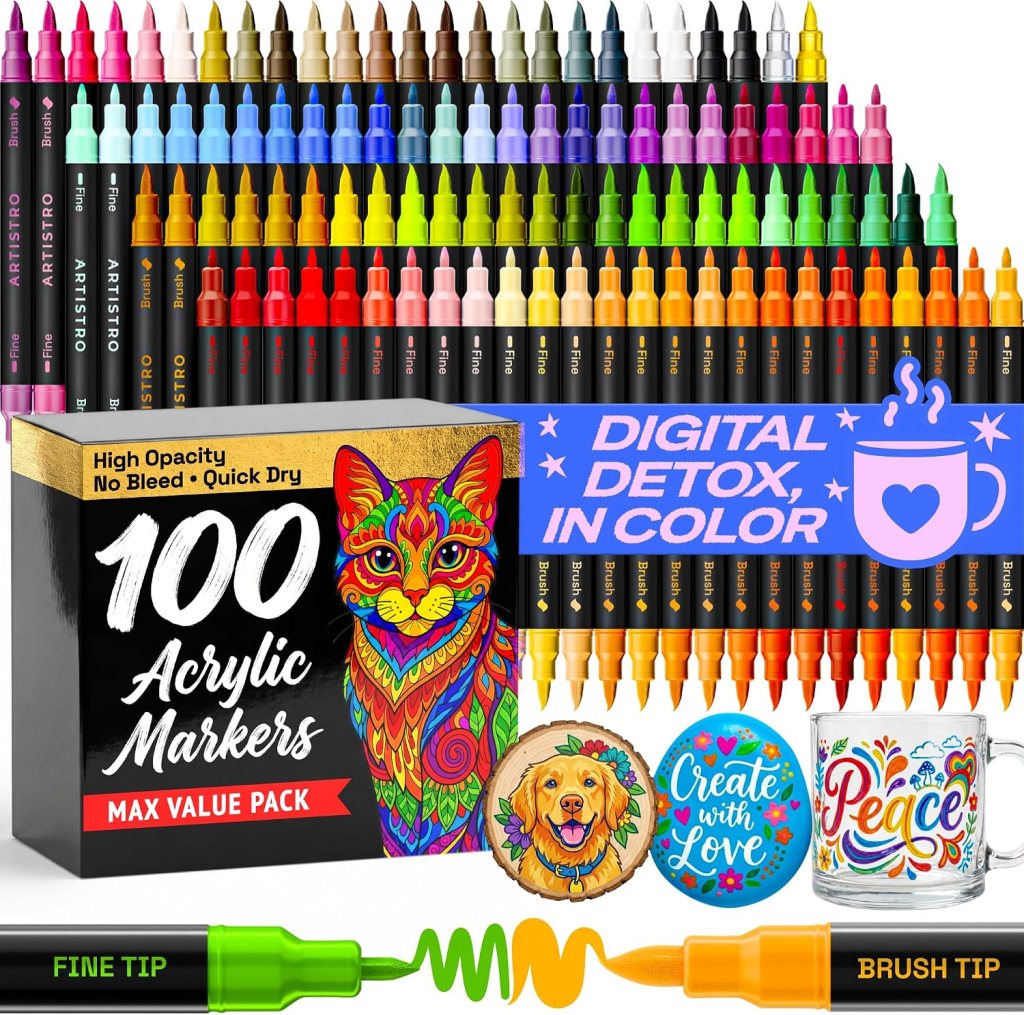
These were probably the most important part of the whole project. I liked this set because it had a ton of colors and two different tip sizes, which ended up being really useful. I used the finer tip around the Pokémon and for smaller details, then switched to the larger tip for bigger areas like the grass and sky.
Having so many colors in one pack also meant I wasn’t constantly realizing I needed one random shade I didn’t have.
4. Masking Tape
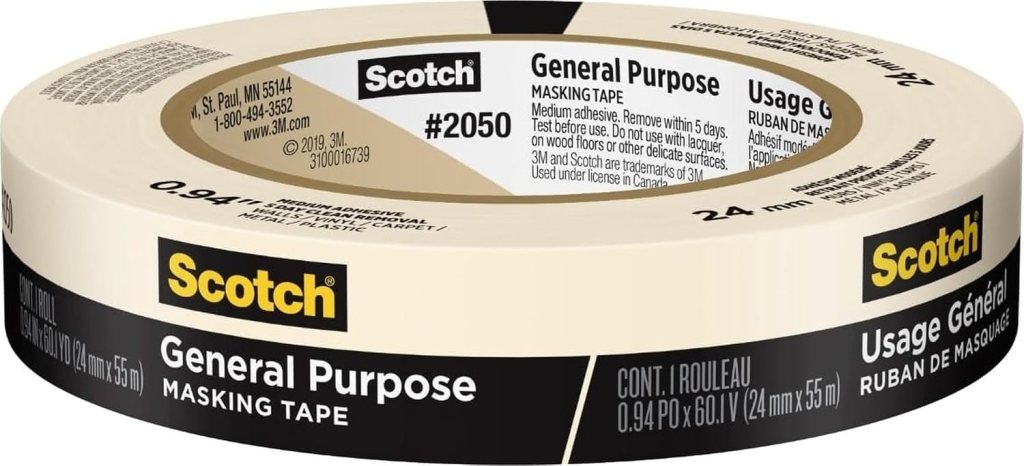
Nothing fancy needed here. I used basic masking tape to hold my printed design and graphite paper in place while I traced everything onto the binder.
I preferred masking tape because it was easy to reposition while I got everything lined up, held the design securely while I traced, and peeled off cleanly without leaving sticky residue behind. This is the exact tape I used, and it worked perfectly for the project.
You probably don’t need to buy new tape if you already have masking tape sitting around the house, but if you need some, this one did exactly what I needed it to do.
5. Sealer Spray
Once I finished painting, I waited a full 48 hours to make sure everything was completely dry before sealing it. I definitely did not want to get this far and accidentally smear or ruin the design!
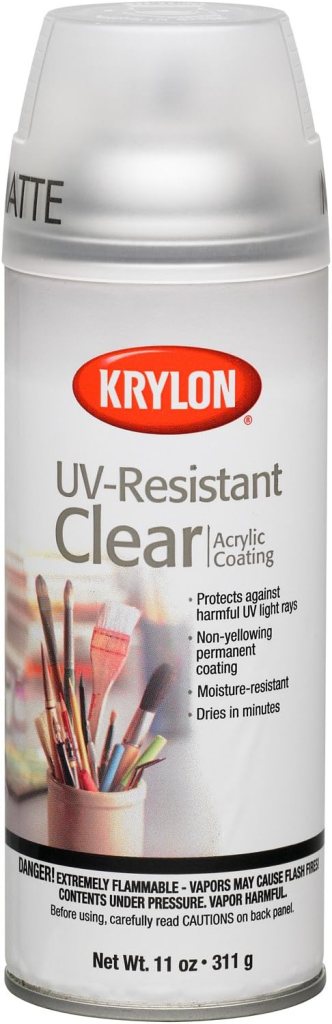
For the final step, I recommend a matte clear acrylic spray like this one from Krylon to help protect the artwork from scratches and everyday wear. The matte finish keeps it from looking overly shiny while still adding that protective layer.
I’d recommend applying several light coats rather than one heavy coat, letting each coat dry in between. I’d also test it on a small, less noticeable area first since binder materials can vary.
This isn’t the exact sealer I originally used, but it’s the one I would use if I made another binder.
Would I Make Another One?
Absolutely. 😂
There are already a few things I’ll do differently next time, but that’s half the fun of making something yourself. I learned a lot with this first binder, and now I have approximately a million ideas for the next one.
My husband has already requested his own featuring his favorite Pokémon, and I have a feeling this is about to become my new go to project for friends who collect cards too.
For now, this one is officially ready for its first adventure at Collect-A-Con in October. I’ll come back and update this after the show with how it held up after traveling, carrying it around all day, and inevitably adding more cards than I planned. 😂
If you make your own, my biggest advice is just to go for it. Your lines don’t have to be perfect (example: I am missing some lines in my graphite transfer paper process that I didn’t notice until painting), your design doesn’t have to look professional, and you can change things as you go. That’s what makes it yours.
 According To Tay
Leave a comment