Apparently My Kindle Wasn’t Sparkly Enough
I read pretty much everything on my Kindle, so did I actually need a physical copy of A Court of Thorns and Roses?
Absolutely not.
Did I buy one specifically because I wanted to cover it in rhinestones?
Absolutely yes. 😂
This project was completely for the plot.
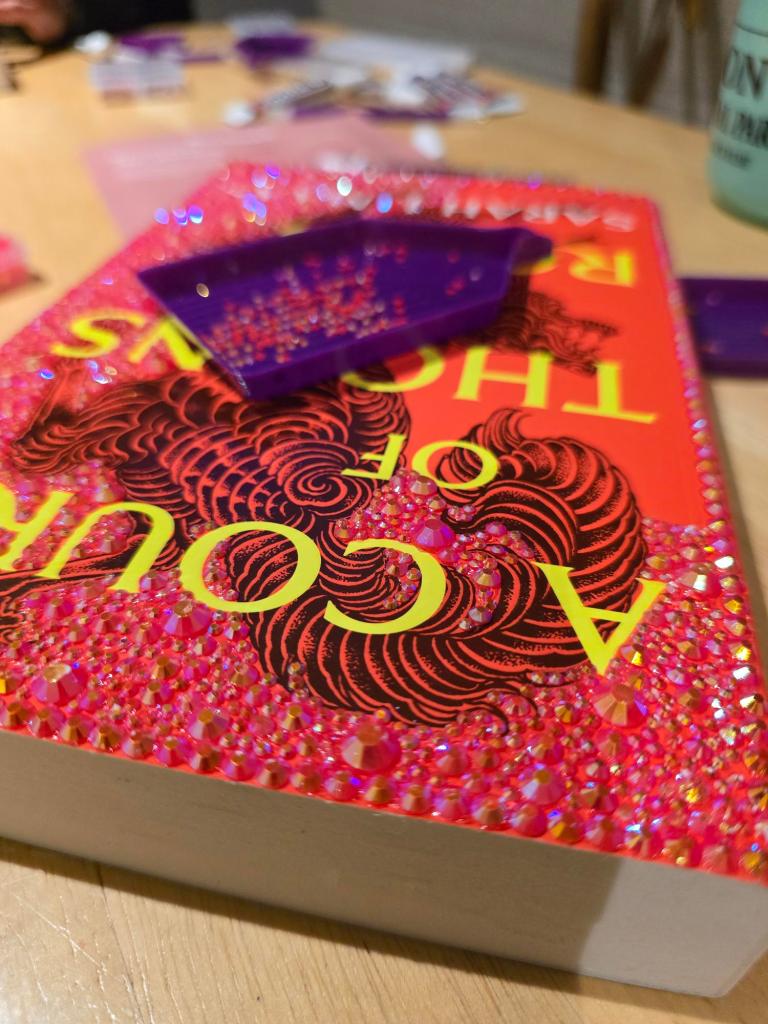
I love ACOTAR, and the original cover already had such a fun design that I thought it would be perfect for bedazzling. I wanted to keep the title and original artwork visible, then completely fill the background with different sizes of rhinestones so the design still looked like the book, just significantly more ✨extra✨.
And I am obsessed with how it turned out.
A quick heads up: Some links on this page are affiliate links, which means I may earn a small commission if you find something you love and make a purchase, at no extra cost to you.
1. The Book: A Court of Thorns and Roses
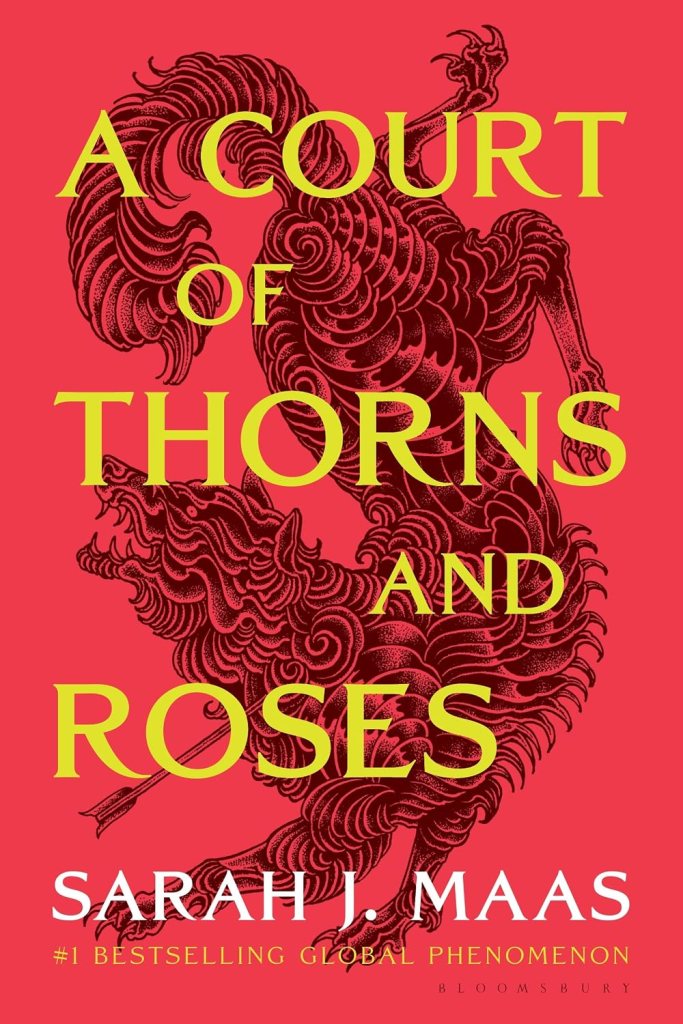
I used a paperback copy of A Court of Thorns and Roses by Sarah J. Maas for this project. I normally read everything on my Kindle, so I will fully admit that I bought this copy specifically to bedazzle it. 😂
The cover was perfect for what I wanted to do because there were large areas I could fill with rhinestones while still leaving the title, author name and original artwork visible.
If you want to recreate mine, this is the exact edition I used, which is important since a different cover design would obviously give you a completely different layout to work with.
2. AB Rhinestones
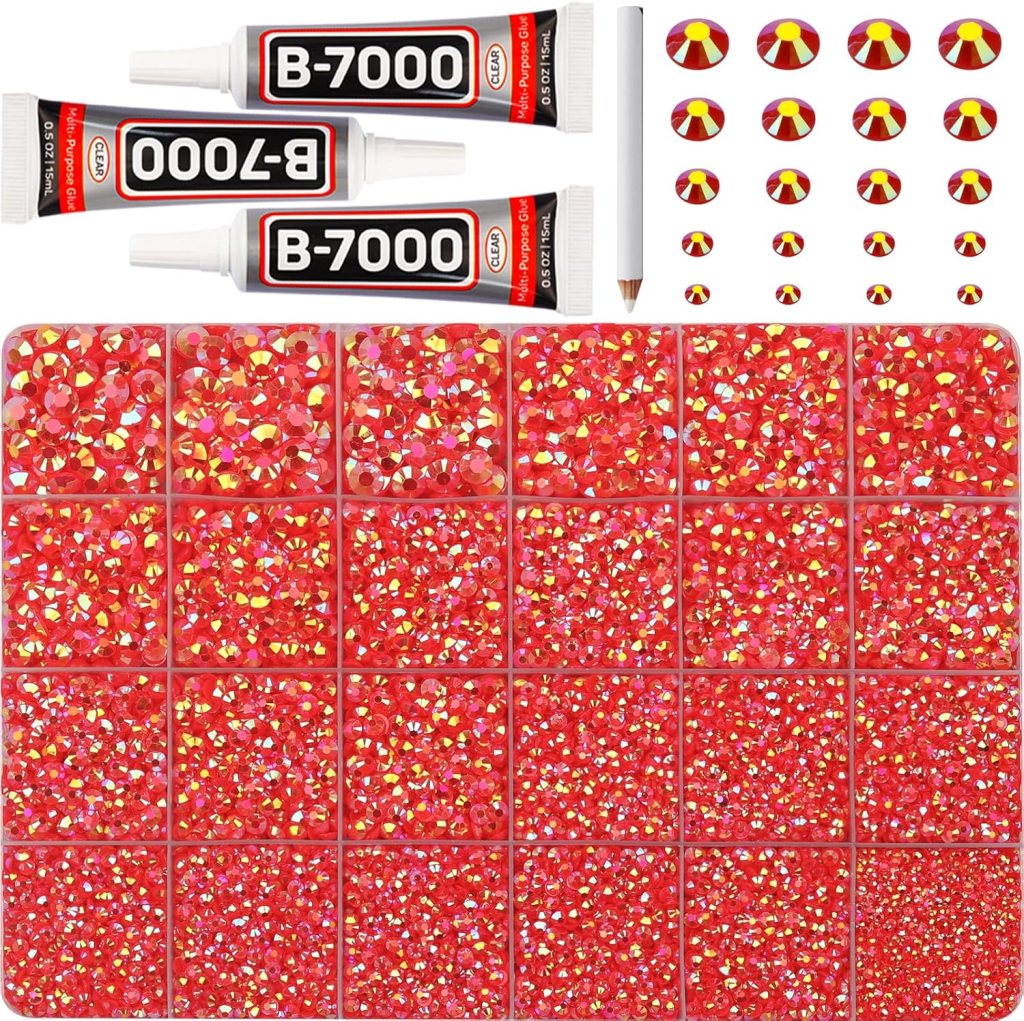
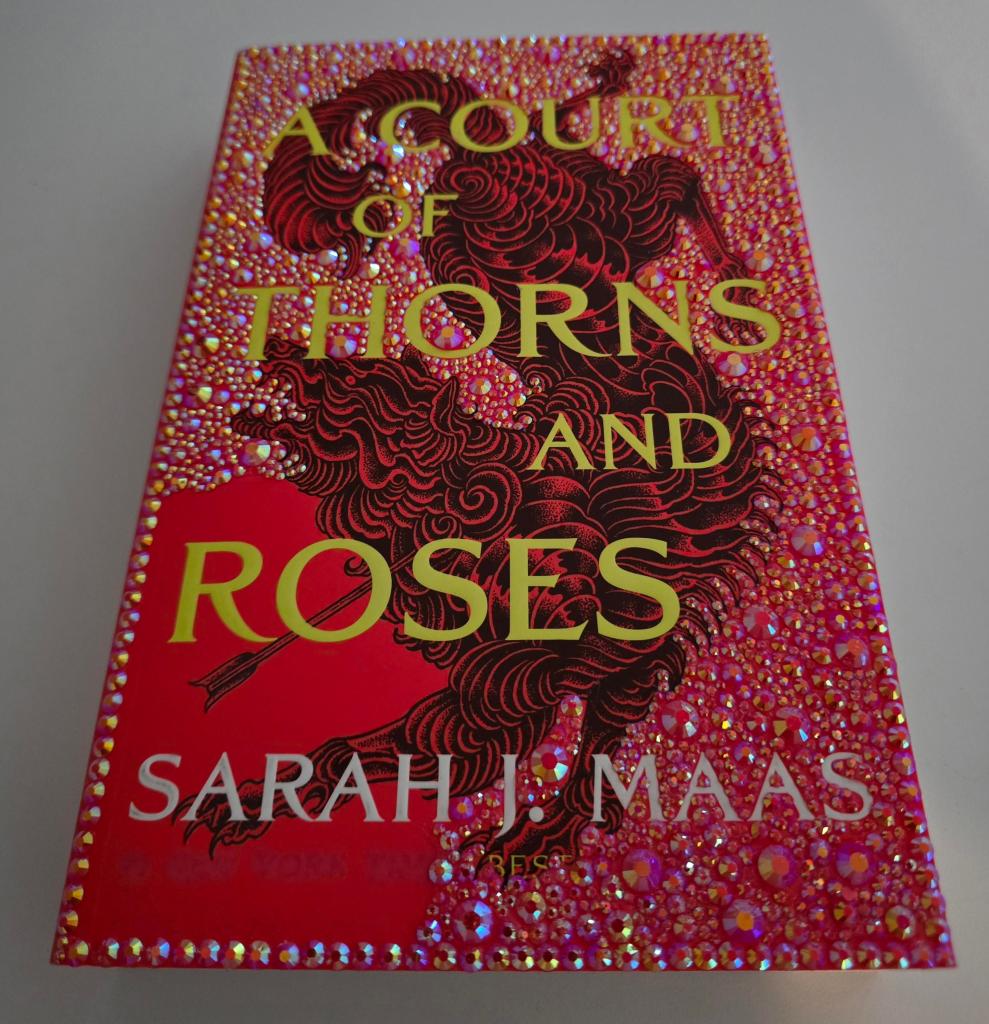
If there is one supply I wouldn’t swap out for this project, it’s these rhinestones. They were exactly what I wanted.
I specifically chose an AB (Aurora Borealis) finish because they catch and reflect different colors depending on the angle and lighting. That’s what gives the finished book that super sparkly look when you move it around instead of the rhinestones looking flat from certain directions. The video of the finished book really shows how much they shine!
I also loved that this set came with a bunch of different sizes. I could use the larger stones to fill bigger spaces and then work the tiny ones into all of the little gaps around the lettering and artwork. Having that size variety made it much easier to completely fill the background without covering parts of the original cover I wanted to keep visible.
And the color ended up matching the ACOTAR cover so well.
If you’re trying to recreate the look of mine, these are probably my biggest must have from the entire project.
3. Organizing Trays
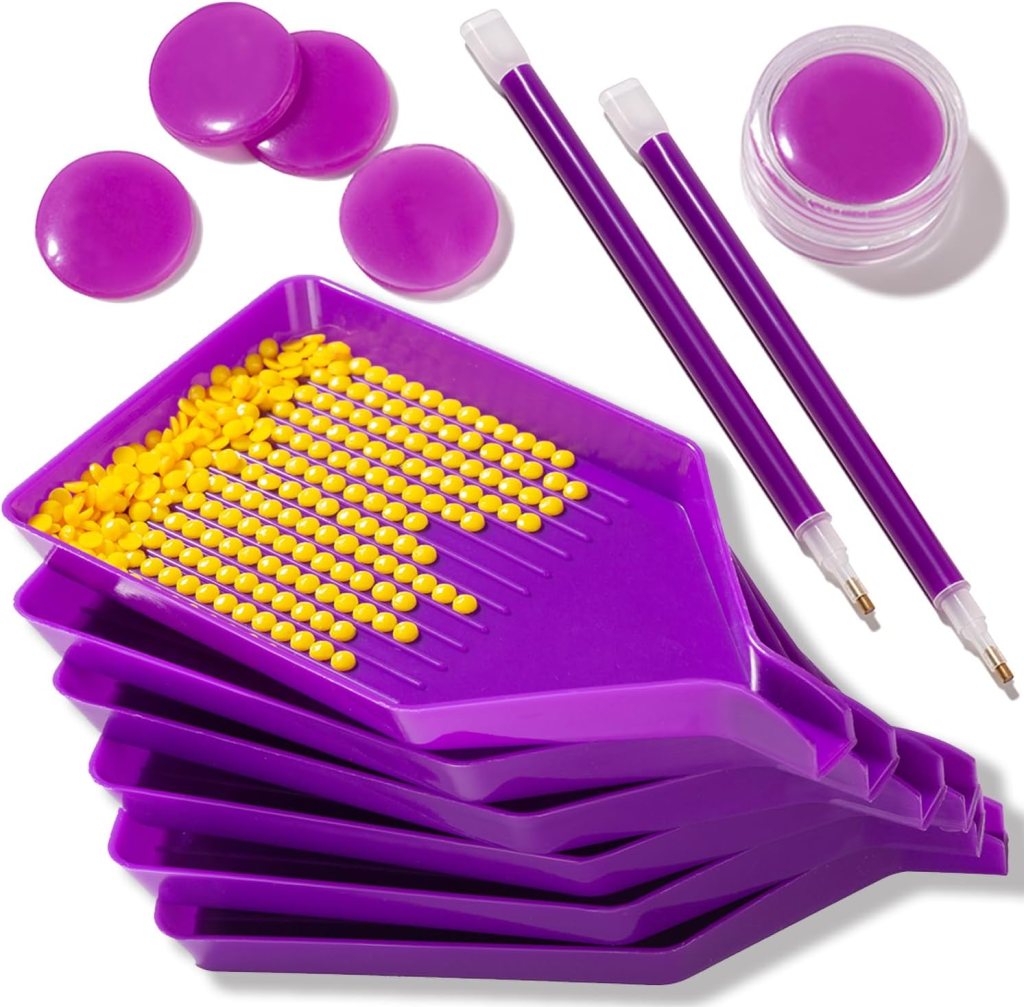
Technically these are diamond painting tools, but they worked perfectly for this project.
The trays made it much easier to separate the different rhinestone sizes and actually see what I was working with instead of digging through a giant pile every time I needed a tiny stone. The little ridges also help spread the rhinestones out so they’re easier to pick up.
The kit also comes with diamond painting pens and wax, which are so much easier for picking up and placing tiny rhinestones than trying to do everything with your fingers or tweezers.
Could you bedazzle a book without these? Probably. Would I want to place thousands of tiny rhinestones without them? Absolutely not. 😂
4. Diamond Painting Sealer
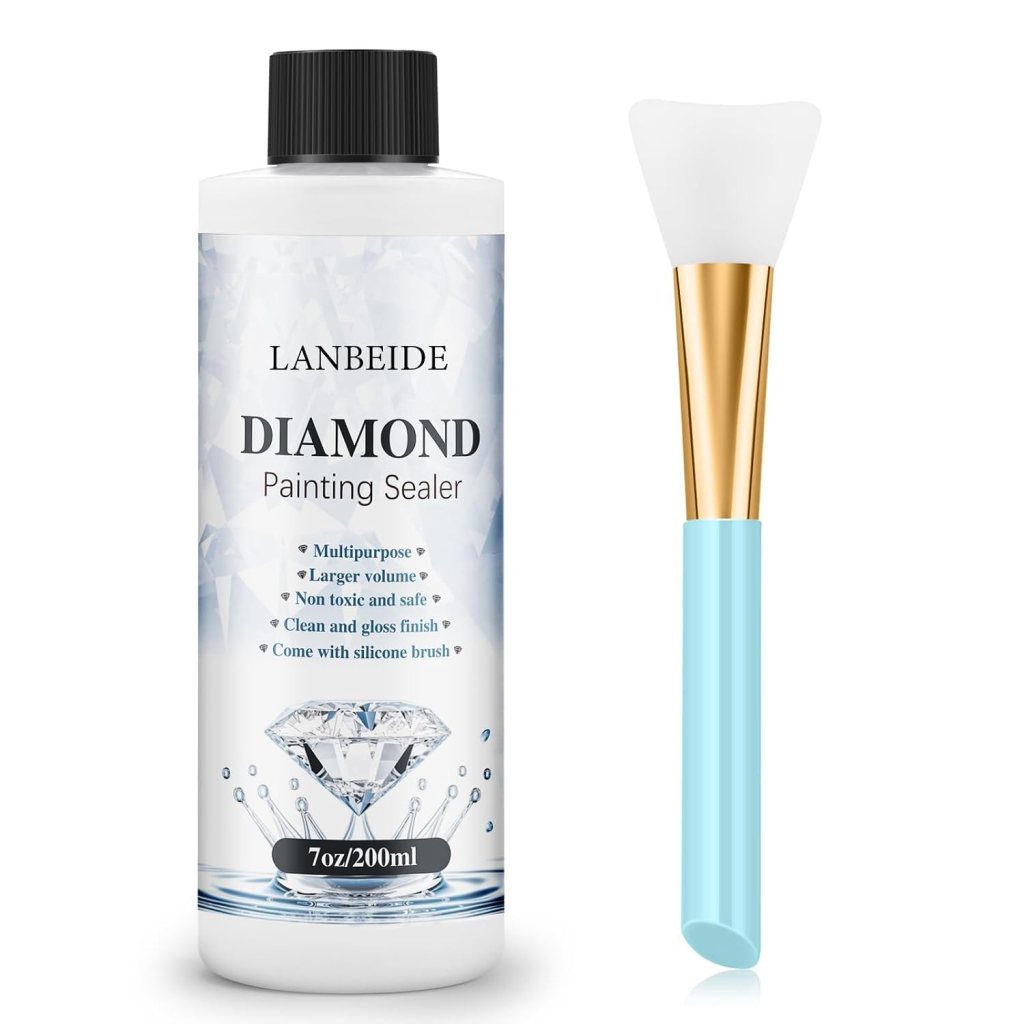
Once every rhinestone was finally in place, I wanted to make sure all of that work was actually going to stay there.
I used this diamond painting sealer over the finished cover to help secure the rhinestones while still keeping their shine. That last part was important to me because there was absolutely no point in using super sparkly AB rhinestones just to dull them down at the end!
It also comes with a silicone brush, which made it easy to spread the sealer across the rhinestones and get into all of the little spaces between them.
I let everything dry completely before handling the book again, and the finished cover still has that really pretty sparkle when you move it around in the light.
For something that is going to sit on my bookshelf and be admired for no practical reason, I consider that a success.
5. Cherry Float Coke Zero – for the vibes and the fuel
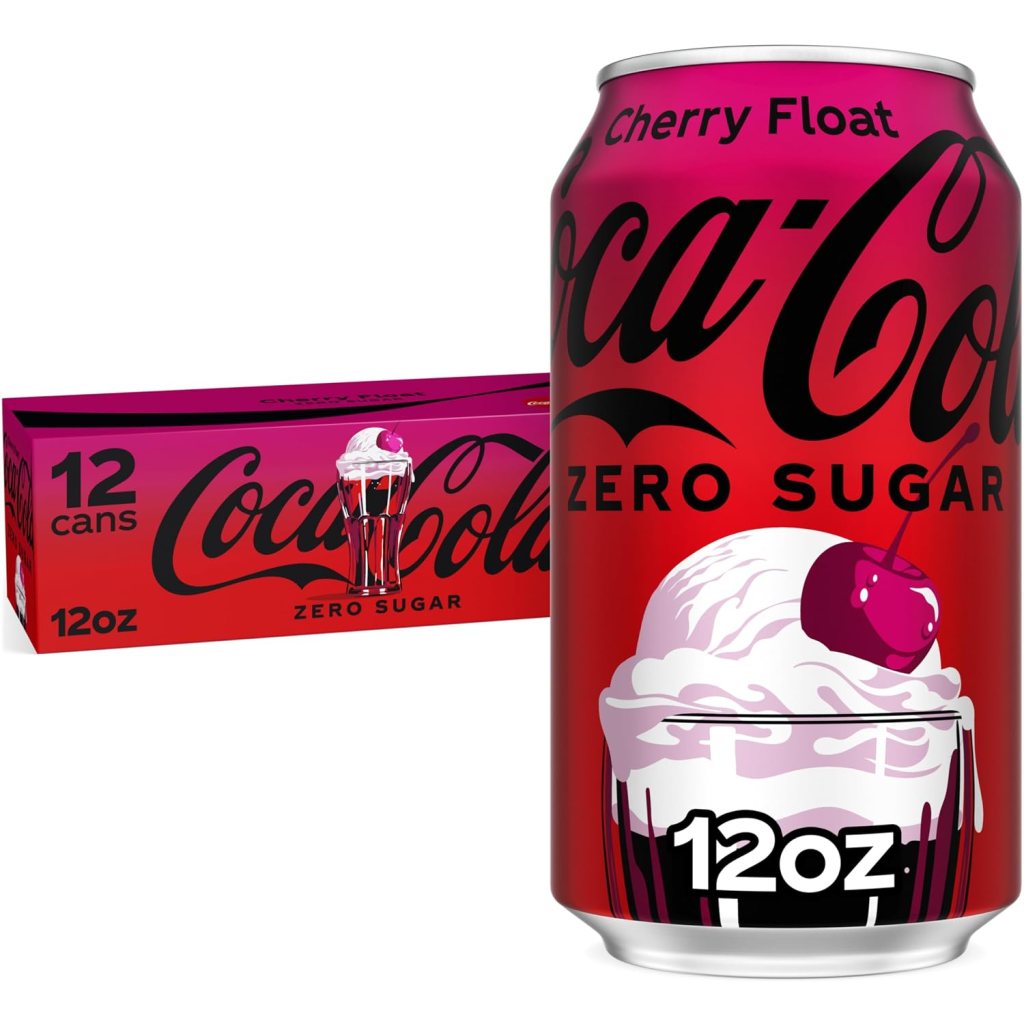
Was this technically required to bedazzle the book? No.
Was I about to individually place approximately 35,000 tiny rhinestones without a beverage? Also no.
My crafting fuel of choice was Cherry Float Coke Zero. Completely optional for the project, but spiritually essential.
Use whatever crafting beverage makes you happy, but this was mine.
How I Bedazzled the Book
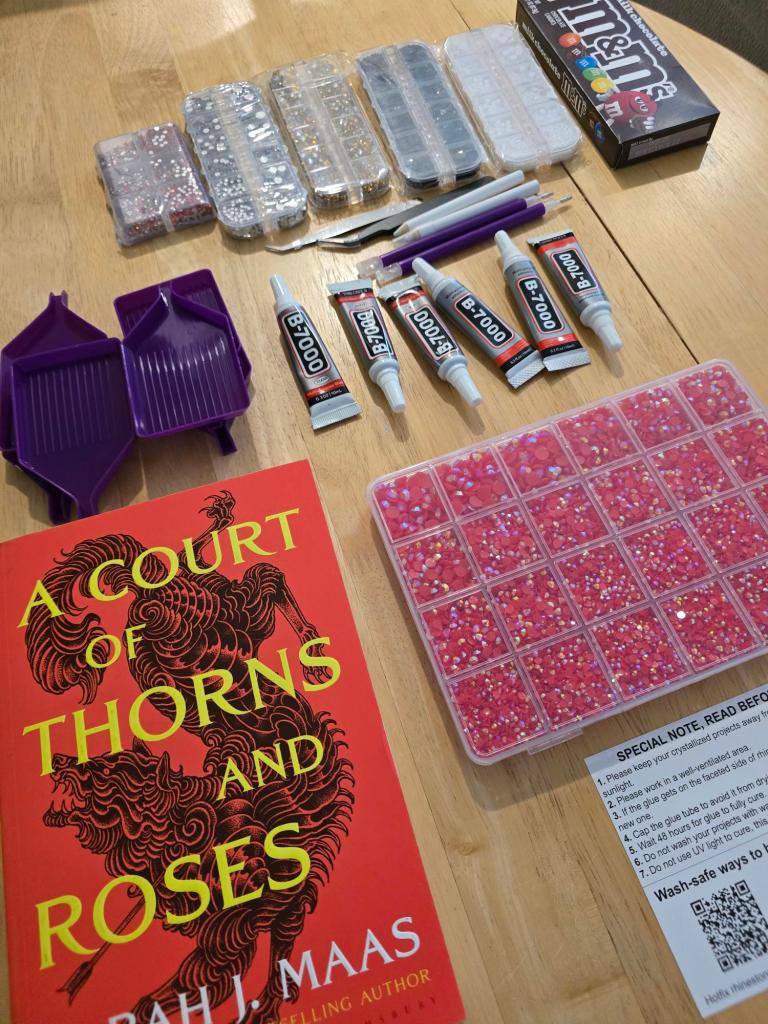
Before I started, I got everything out and ready: the rhinestones, the glue that came with the rhinestone kit, diamond painting tools, wax, trays and, obviously, a Cherry Float Coke Zero.
I poured a small amount of each rhinestone size into the purple trays, keeping the different sizes in separate trays. Then I used the wax tool to pick up and place each stone. This made working with the really tiny rhinestones so much easier.
Start With the Outside Border: The first thing I did was create a rhinestone border all the way around the outside edge of the book cover. For this border, I used the exact same size rhinestone all the way around, not the biggest and not the smallest.
Then I worked around the title, author name and artwork that I wanted to leave visible. Basically, I created little rhinestone barriers around everything I didn’t want to cover.
For these inner borders, I used a variety of rhinestone sizes depending on the little curves, corners and crevices I needed to work around.
This ended up being really helpful because once all of my borders were finished, I had clearly defined areas that I could simply fill in with rhinestones.
Work in Small Sections: Once my borders were finished, I started filling in the background. I started in one corner and worked my way across, keeping everything tightly together as I went. I tried not to jump around on this project so I could keep the spacing consistent.
I only applied glue to an area about ½ inch at a time. I didn’t want to cover a huge section in glue and then have it start drying before I could get all of the rhinestones where I wanted them.
As I kept going, my confidence definitely built and I got a little faster, but working in small sections made the whole thing much easier to control.
For each section, I placed some of the larger rhinestones first, making sure to spread them out instead of putting a bunch of large stones right next to each other.
Then I filled in the spaces around them with the medium and smaller rhinestones.
The biggest trick was really just spacing out the different sizes. I wanted the stones to look random while still being evenly distributed, so I tried not to create obvious clusters of any one size.
Then I repeated the same process:
Glue a ½-inch section → place larger stones → fill around them with smaller stones → move to the next section.
And kept going…and going…and going. 😂
Let Everything Cure: Once I finally placed the last rhinestone, I left the book alone for a couple of days to give the glue plenty of time to fully cure. After spending that long placing everything, I was not about to rush the last step and accidentally move any of them.
Once everything felt completely secure, I applied the diamond painting sealer over the finished rhinestones and let that dry completely.
And then came the most important final step: Move it around under every light in your house to admire the sparkle. ✨
Was It Worth Bedazzling an Entire Book?
Absolutely. 😂
This was one of those projects where I had an idea in my head and wasn’t entirely sure if it would actually look good once I committed to gluing thousands of tiny rhinestones to a book.
Thankfully, it turned out even better than I pictured.
My favorite part is seeing it in different lighting. The AB rhinestones catch the light from every direction, so a photo doesn’t quite do it justice, which is exactly why I had to include a video of the finished cover sparkling.
Would I recommend choosing a project that requires placing an unreasonable number of tiny rhinestones one at a time? Apparently yes. Put on a good show, grab your beverage of choice and settle in.
I was going to end this by asking whether this would become a one-time project or if I was about to end up with an entire unnecessarily sparkly bookshelf…
But I already bought book two. So I think we have our answer. 😂
 According To Tay
Leave a comment